I recently created a Discord bot for my Aavegotchi Gotchiverse gaming guild WAGMI Warriors that monitors the Aavegotchi smart contracts deployed on the Polygon network for new rentals using the Ethers.js library. Then after it finds an event, it posts a message to a channel in the guild Discord server using Discord.js.
In this tutorial, I will walk you through how to create a bot like this, that monitors a smart contract for events and posts a message to Discord when a particular event occurs on-chain.
All of the code written in this tutorial will be available on GitHub at:
https://github.com/programmablewealth/smart-contract-discord-bot
Step 1: Create Your Discord Server
You can skip this step if you already have a Discord server.
But if you don’t have a Discord server, it is very easy to create one.
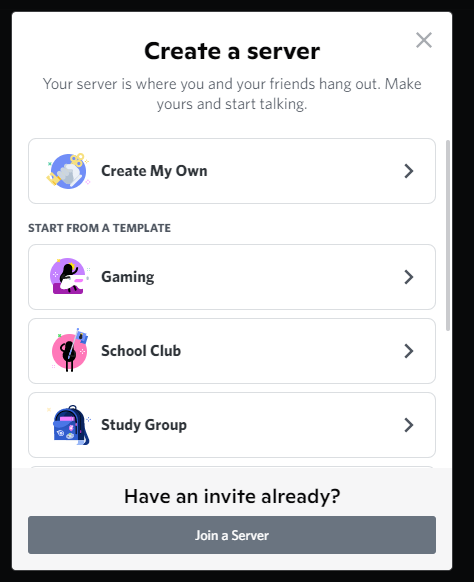
On Discord in the browser or via the Discord application downloadable at https://discord.com/, scroll to the bottom of the screen, then in the bottom right corner, you will see a button with the plus symbol. Select this button to start creating a new server.

Select “Create My Own”.
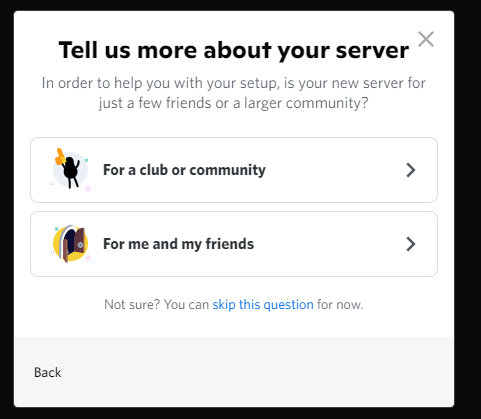
Select “For a club or community”.
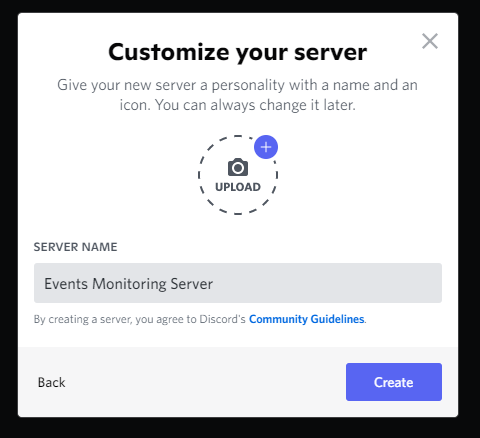
Enter a server name, then select the “Create” button.
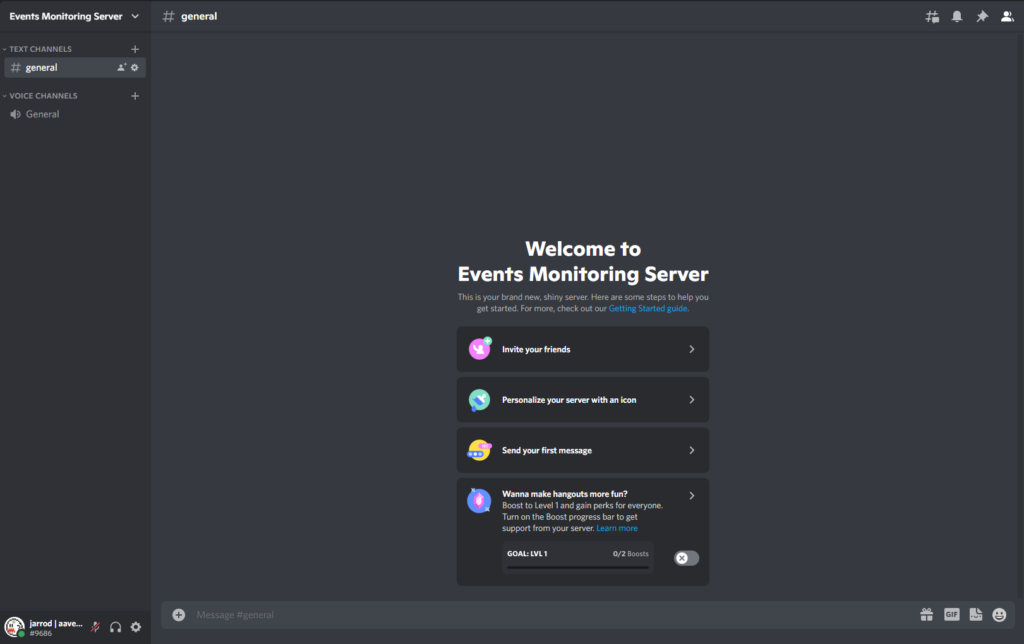
That’s it, now you have your Discord server.
Step 2: Setup your Nodejs project with Ethers.js and Discord JS Libraries
If you don’t have Nodejs installed on your system, it can be downloaded at https://nodejs.org/en/ and then installed on your computer.
Then you can create your node project by creating a new directory with the name “smart-contract-discord-bot”, then create a file inside with the name “bot.js”.
You will download two libraries we will be using for this bot.
- Ethers.js which will be used for reading data from the smart contract and monitoring smart contract events
- Discord.js which will be used to send messages to our Discord server
Install Ethers.js with npm by using the following command inside the “smart-contract-discord-bot” directory.
npm install --save ethersInstall Ethers.js with npm by using the following command inside the “smart-contract-discord-bot” directory.
npm install --save discord.jsStep 3: Create an Alchemy API Key
When listening to smart contract events on the blockchain, you will need a way to connect to the blockchain.
Rather than running a full node on the same machine that you have your discord bot running, you can instead use the API access provided by companies like Alchemy and Infura to connect to the blockchain.
I will use Alchemy for the purposes of this tutorial.
First, you will need to sign up for an account at Alchemy at https://alchemy.com/?r=jEyNTI4MTU0ODg0M
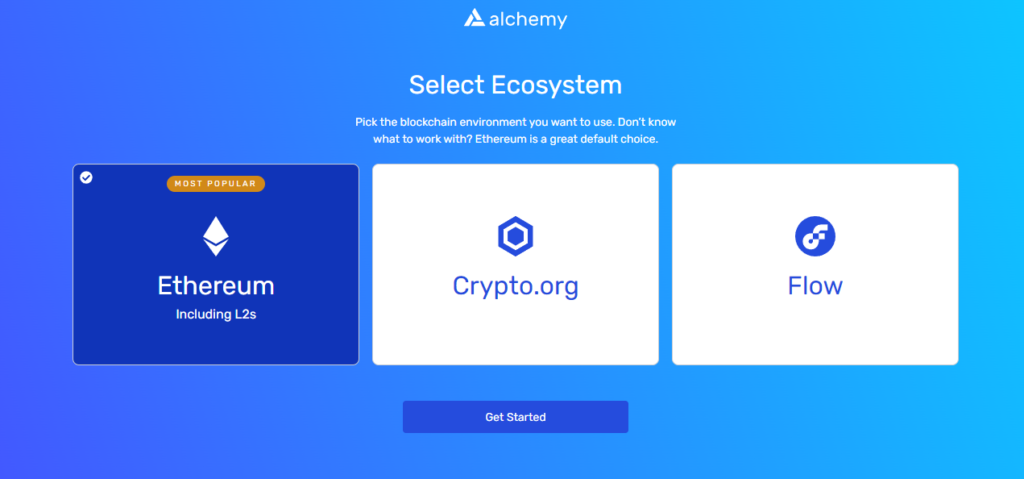
Because I will be monitoring a smart contract on the Polygon network, for the ecosystem, I will select the “Ethereum Including L2s” option. Then click “Get Started”.
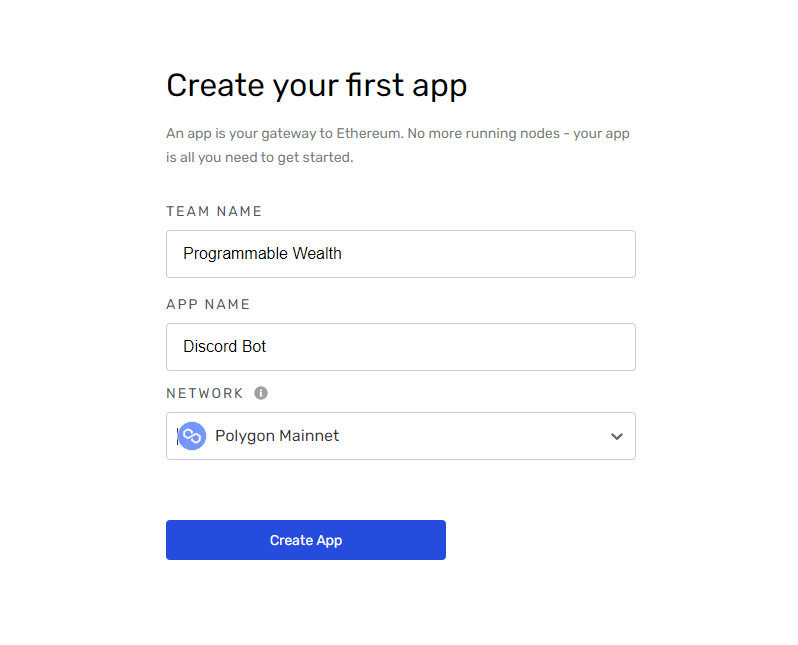
Enter a Team Name, enter an App Name, then select the Network where your smart contract is deployed. In my example, I will select Polygon Mainnet. Then select the Create App button.
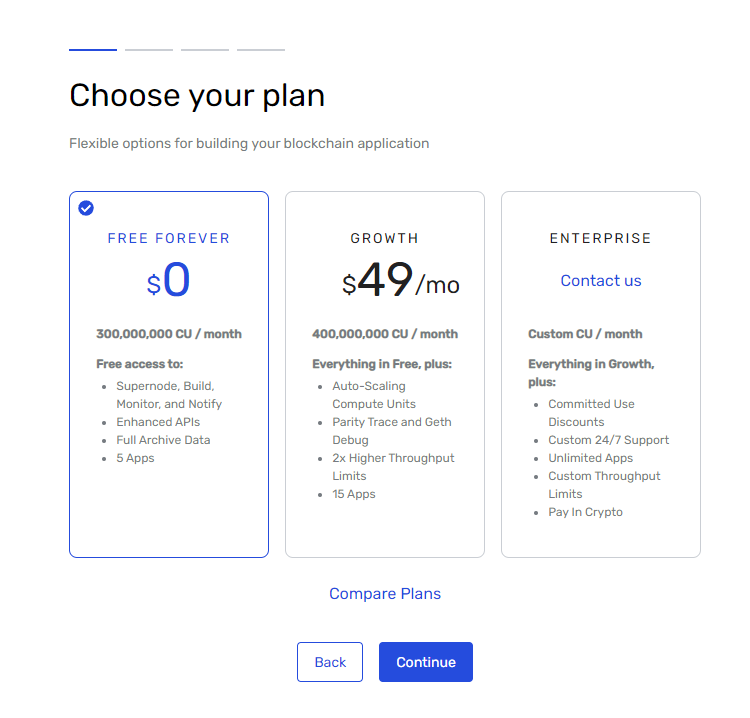
Select the Free Plan and click Continue.
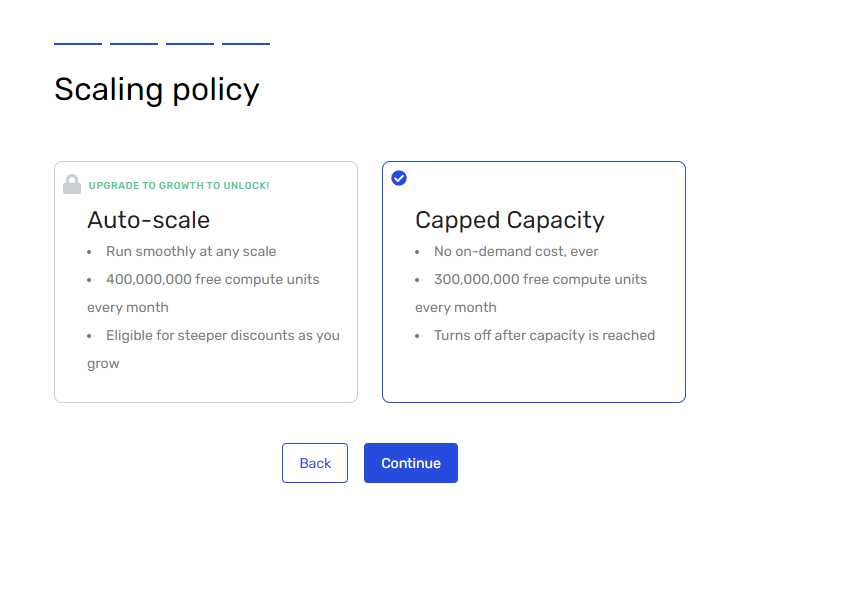
You can skip entering a credit card, then select the “Capped Capacity” option. Then click continue and select Let’s Go.
Then you will be shown your API key.
Copy this API key, then create a file called “.env” inside the “smart-contract-discord-bot” directory.
Update the .env with the following, replacing YOUR-API-KEY with your real Alchemy API key:
ALCHEMY_URL=https://polygon-mainnet.g.alchemy.com/v2/YOUR-API-KEYTo use this .env file in your project, you will need to download the dotenv library with the following command inside your “smart-contract-discord-bot” directory.
npm install --save dotenvAfter this is complete, go into the bot.js file and make the following changes.
Run the bot.js file inside the “smart-contract-discord-bot” directory with the following command, and you should see the Alchemy URL including the API key printed in the console.
node bot.jsStep 4: Use Ethers.js to Monitor Smart Contract Events
Next, we will update the bot.js script to use the Ethers.js library to detect smart contract events on-chain then log a message on the console.
Before we get started with writing the code for this step we will need a few things.
- The network ChainID where the smart contract we want to monitor is deployed
- The address that the smart contract has been deployed to
- The smart contract Application Binary Interface (ABI)
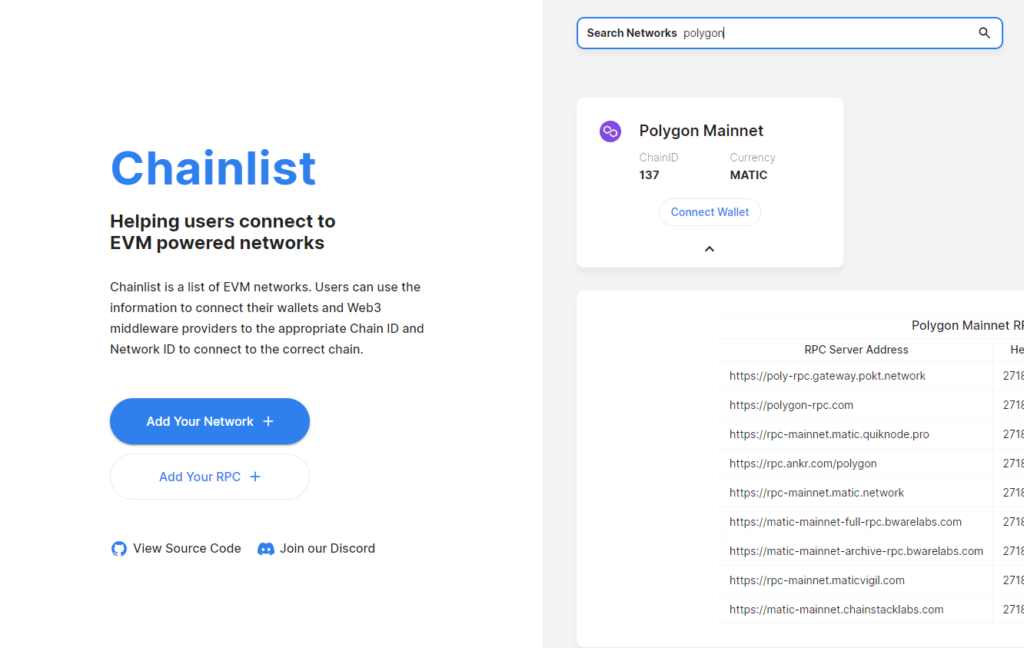
The network chain ID can be found by searching using the network’s name on https://chainlist.org/.
As I will be monitoring a smart contract deployed to Polygon, searching for “Polygon” on chainlist.org gives me the ChainID of 137.
Next, we will need the smart contract address. I am using the Aavegotchi Diamond smart contract, which is easily located in the Aavegotchi contracts GitHub repositories README file.

Finally, we need the smart contract ABI. You can get this in a number of ways.
- Checking in the developer documentation to see if it is published on GitHub
- Check the contract address on the Block Explorer to see if the contract has been verified with an ABI published
- Compile the smart contract code and generate the ABI yourself
The Aavegotchi developers have made this an easy process, the ABI for the Aavegotchi Diamond is available on GitHub at the following link.
https://raw.githubusercontent.com/aavegotchi/aavegotchi-contracts/master/diamondABI/diamond.json
Now I have all the inputs required to use Ethers.js to monitor the smart contract events.
Copy the smart contract ABI into the “smart-contract-discord-bot” directory with the name “abi.json”.
Then at the top of “bot.js” import the smart contract ABI with the following code.
const abi = require("./abi.json");As we have downloaded the Ethers.js dependency in Step 2 of this tutorial, on the next line you can import Ethers.js with the following code.
const ethers = require('ethers');After the line of code for loading the .env file, you can set up the network and provider with the following code using Ethers.js.
Next, you can load the smart contract you want to monitor by passing the contract address, contract ABI, and provider as parameters to a new ethers.Contract object.
Then you can use the on function on the contract object to monitor an event by name, then invoke a function with the event parameters when the event occurs on-chain.
In this on function, you can use the event parameter to read more on-chain information by invoking smart contract functions.
For instance, I have updated bot.js to get the Aavegotchi lending information using the Aavegotchi lending listing ID from the smart contract event by calling the getGotchiLendingListingInfo function and passing the lending listing ID.
If you run your bot in the command line, as new events occur on-chain you should see the event information print to the screen.
In the next step of the tutorial, we will be connecting the bot to the Discord server, so we will be able to send this data as messages to our Discord server.
Step 5: Add the Bot to Your Discord Server
Next, you will need to add the bot to your Discord Server, by creating a bot application.
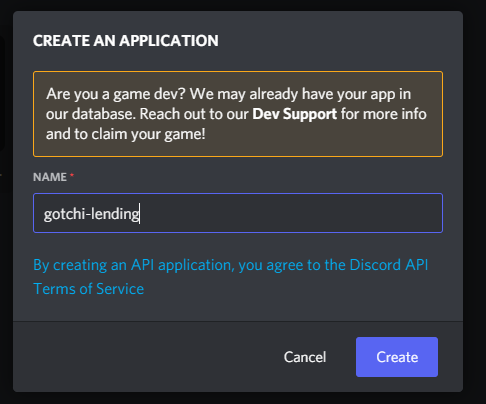
First, you will need to create a new Discord application by going to the Discord developer portal and selecting “New Application”.

Give your application a name and select the “Create” button.
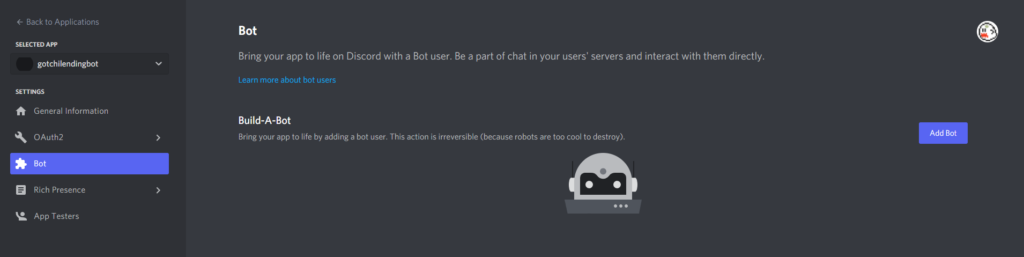
Then select the “Bot” option in the “Settings” menu on the left and select the “Add Bot” button.
Now your Discord application is a bot application, the next thing you need to do is invite your bot application to your Discord.
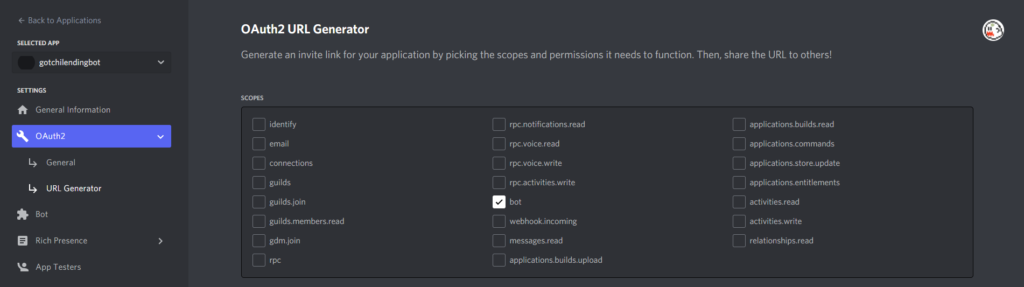
This can be done by going into the “OAuth2” option in the “Settings” on the left, then selecting “URL Generator”.
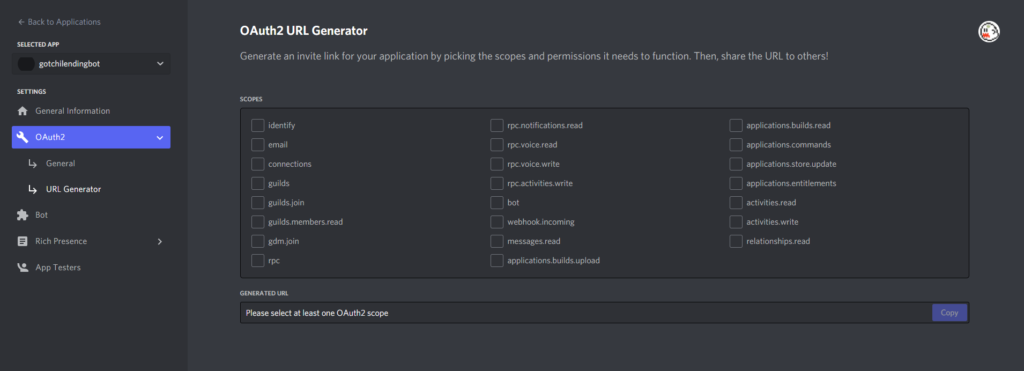
Select the “bot” scope.
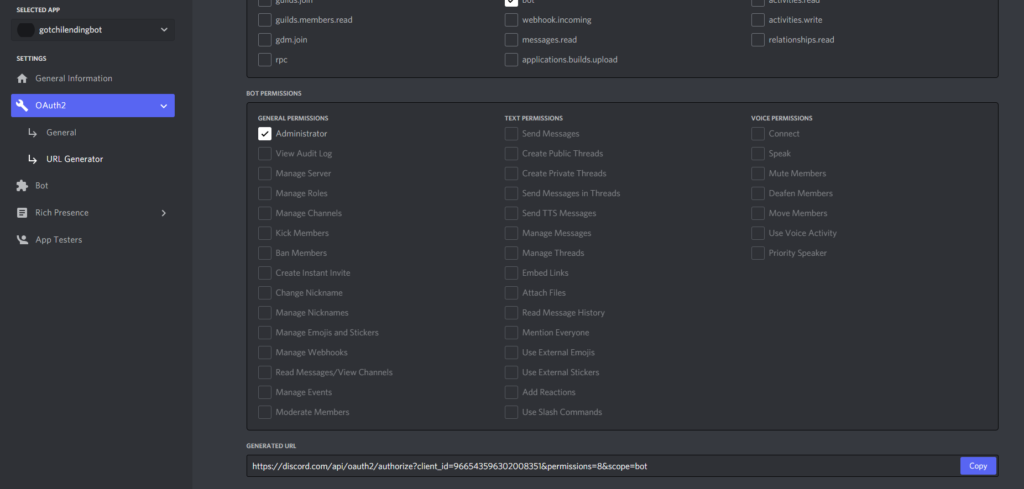
Give it “Admin” bot permissions, then copy the generated URL into a web browser.
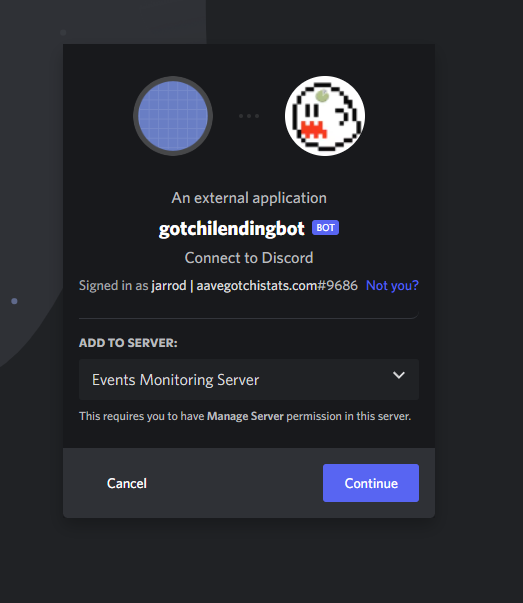
Select the Discord server you want to invite the bot into.
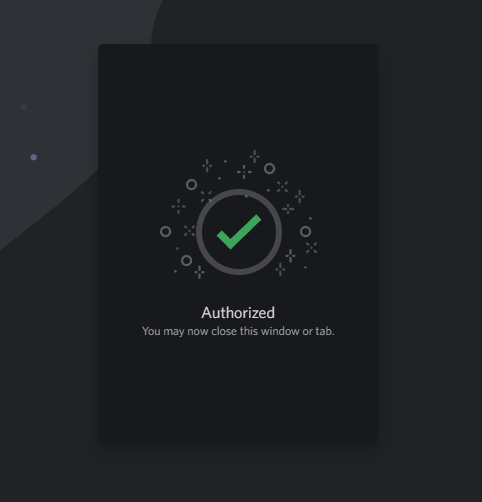
Then select the “Authorize” button.
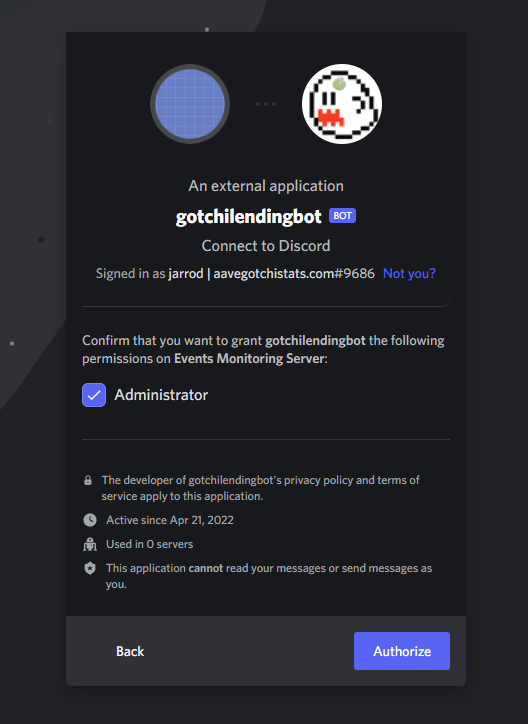
If it was successful you should see something like this.
In your Discord server you should see a welcome message of your bot joining the Discord server as a member.

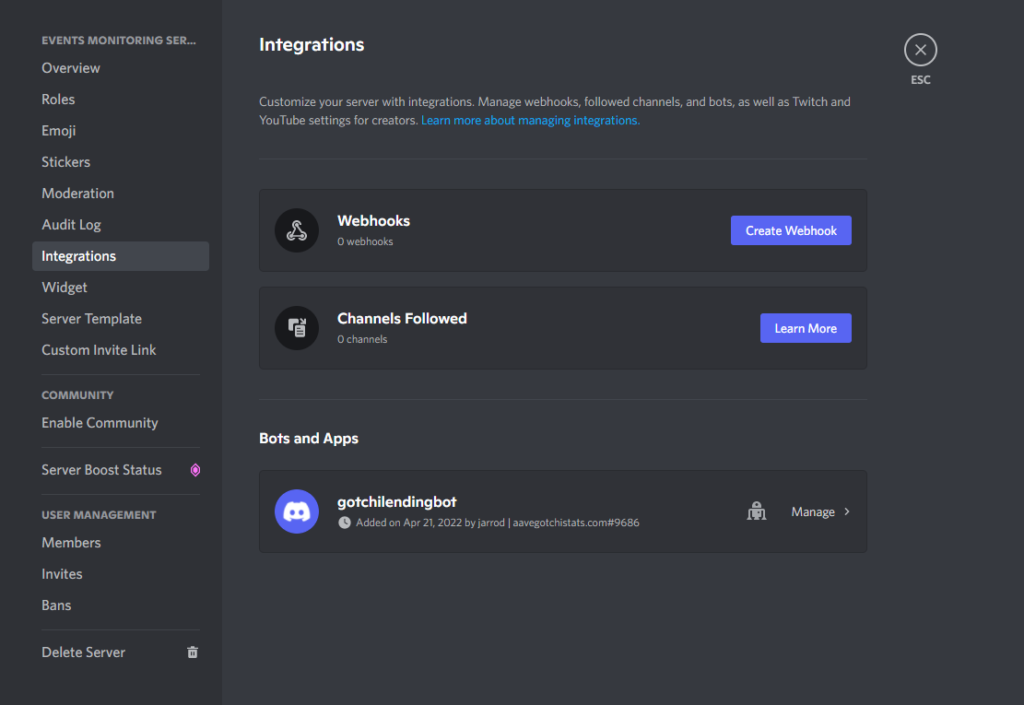
In the Discord server settings, under the “Integrations” section and you should see your bot in the “Bots and Apps” section.
Step 6: Access your Discord Server Programmatically with Discord.js
Next, we will start using Discord.js to programmatically log in to your Discord server.
First, we will need to create a file “config.json” that contains the Discord bot’s credentials to connect to the Discord server to send messages.
The config.json will contain 3 attributes. A token, client ID, and guild ID. Please manage this config.json file securely as it will provide access to your Discord server.
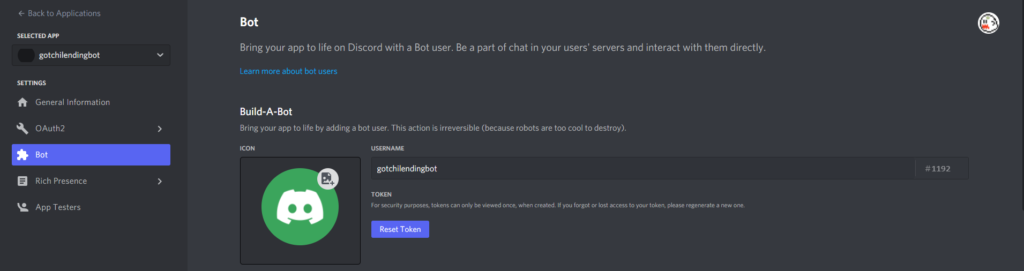
You can get your token by going into the Discord developer portal in the Bot section of your application and selecting the “Reset Token” button. Copy and paste this token into the config.json file.
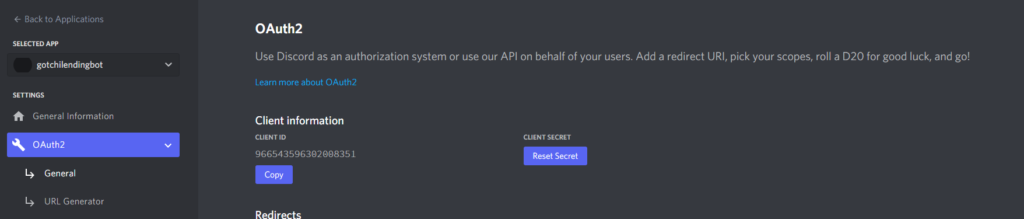
Next, you will need your client ID. This is also visible in the Discord developer portal.
Inside the “OAuth2” section, select the “General” option and you will find your Client ID. Copy and paste this into your config.json file.
Finally, you will need the guild ID. You can get this by going to a channel in Discord, right clicking on it, and selecting “Copy Link”.
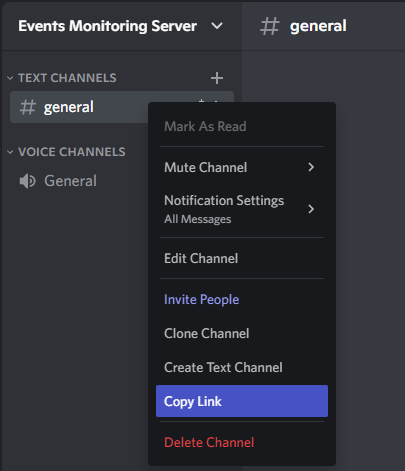
Paste it into a notepad, and you will see a link that looks like this.
https://discord.com/channels/964050871010869268/964050871010869271
The bold section of this link is the Guild ID for my Discord server
https://discord.com/channels/964050871010869268/964050871010869271
Copy and paste your guild ID into your config.json file.
Next, we can use Discord.js to log in the bot to your server. See the code sample for this below.
With the code sample above:
- We have imported our Discord credentials residing in the config.json file
- We have imported various classes we will use from Discord.JS for accessing the server and sending messages to a channel
- We created a Discord client object and set up a once listener to run code once the bot has logged in
- Once the Discord bot has logged in we will print to console “Ready” with a timestamp
- We invoke the login function for the Discord bot on the last line
Test this code out to verify you can log into your Discord server programmatically with your Discord bot.
Step 7: Sending a Discord Message with Discord.js on Events
In this final step of the tutorial, we will use Discord.js to send a message to a Discord channel when a smart contract event is detected on-chain by Ethers.js.
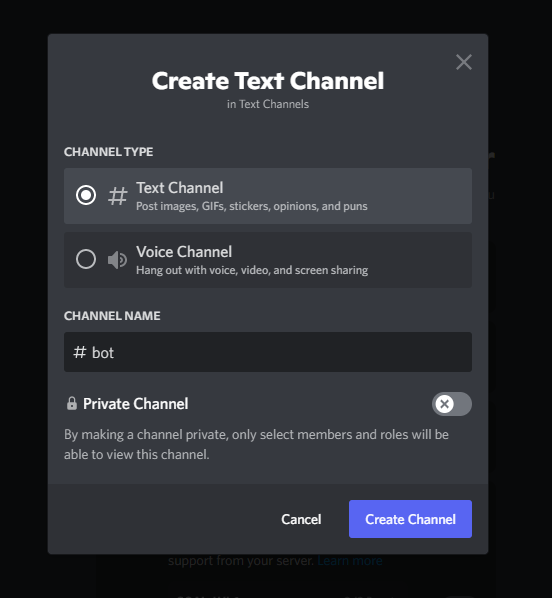
We will start by creating a new channel in Discord for these bot messages.
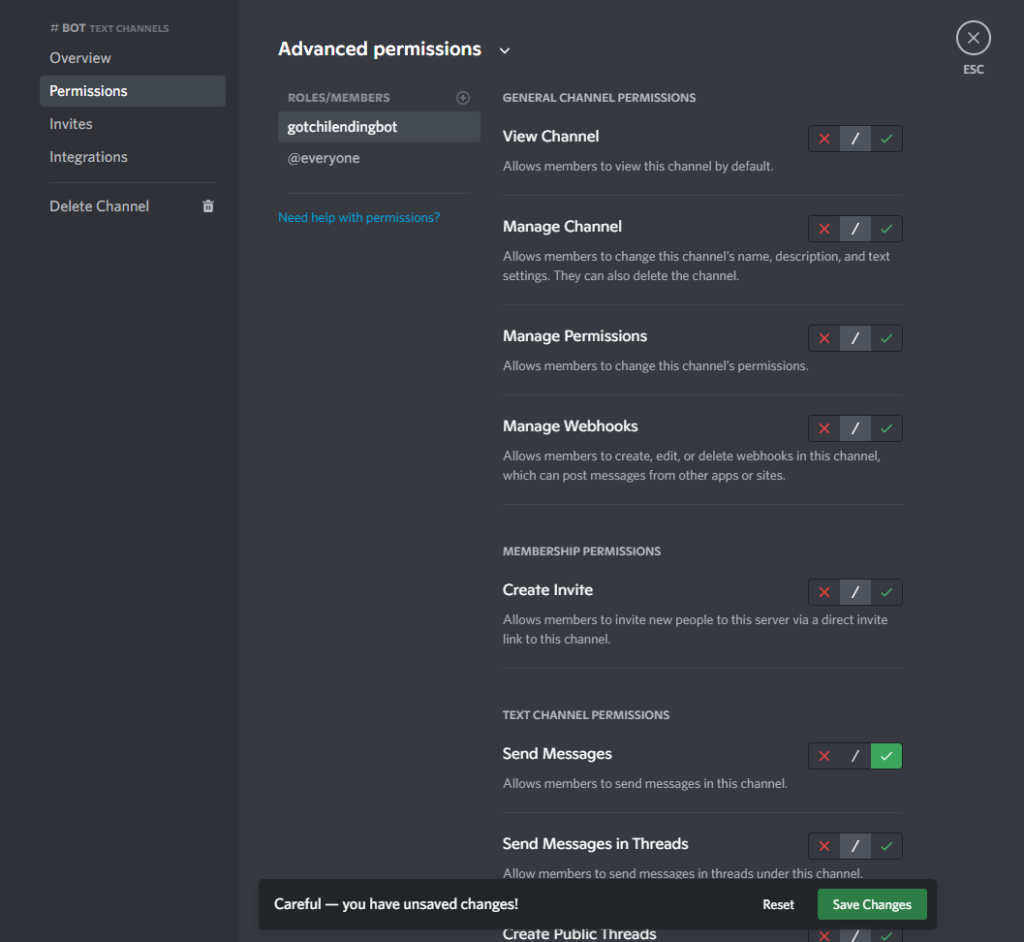
You will need to make sure in the Discord server settings that the bot has permission to send messages to this channel.
Then we will need to get the Discord channel ID for this new channel. Right click on the channel name and select “Copy Link”.
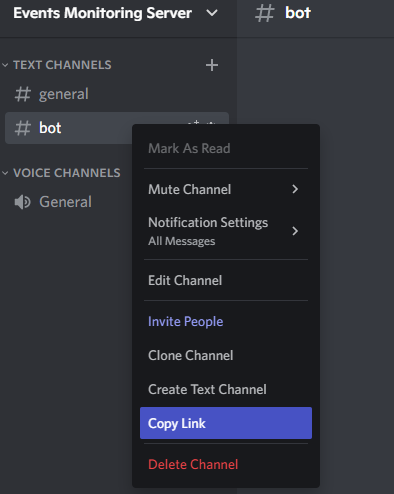
Paste it into a notepad, and you will see a link that looks like this.
https://discord.com/channels/964050871010869268/966574057279610930
The bold section of this link is the channel ID of the bot channel in my Discord server. Copy this for use later.
https://discord.com/channels/964050871010869268/966574057279610930
Next, we will make some code changes to the bot.js file. See a code sample below, containing some changes.
With the code sample above:
- Once the Discord bot has successfully logged in, store the Discord channel in a variable
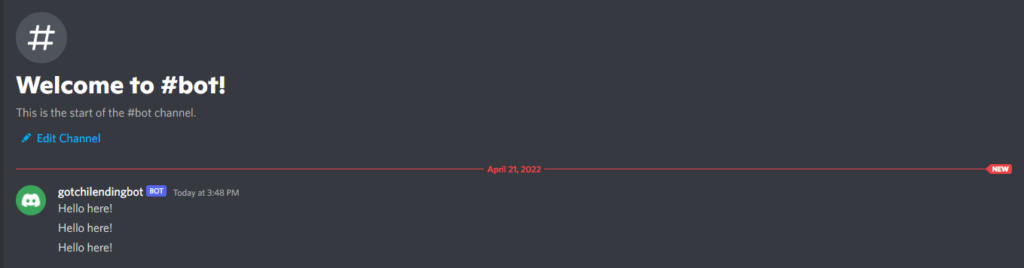
- Once Ethers.js has detected a GotchiLendingAdd event on-chain, the Discord bot will send the message “Hello here!” to the Discord channel
Update the Discord channel ID to your channel ID, then test this code out to verify your bot will send the message “Hello here!” to your Discord channel after an Aavegotchi has been listed for rent and the GotchiLendingAdd event occurs.
We can update this code to get more details about Gotchi Rental to post in the message.
When this is run the bot will post a message like this.

You can even add conditional logic to bot.js so that your only post about events that are relevant to your Discord members.
For example, if you only want to post about Aavegotchis lent using a specific guild treasury address you can do something like this.
To improve the uptime and reliability of your Discord bot, you may wish to run it on a cloud provider like Digitial Ocean.